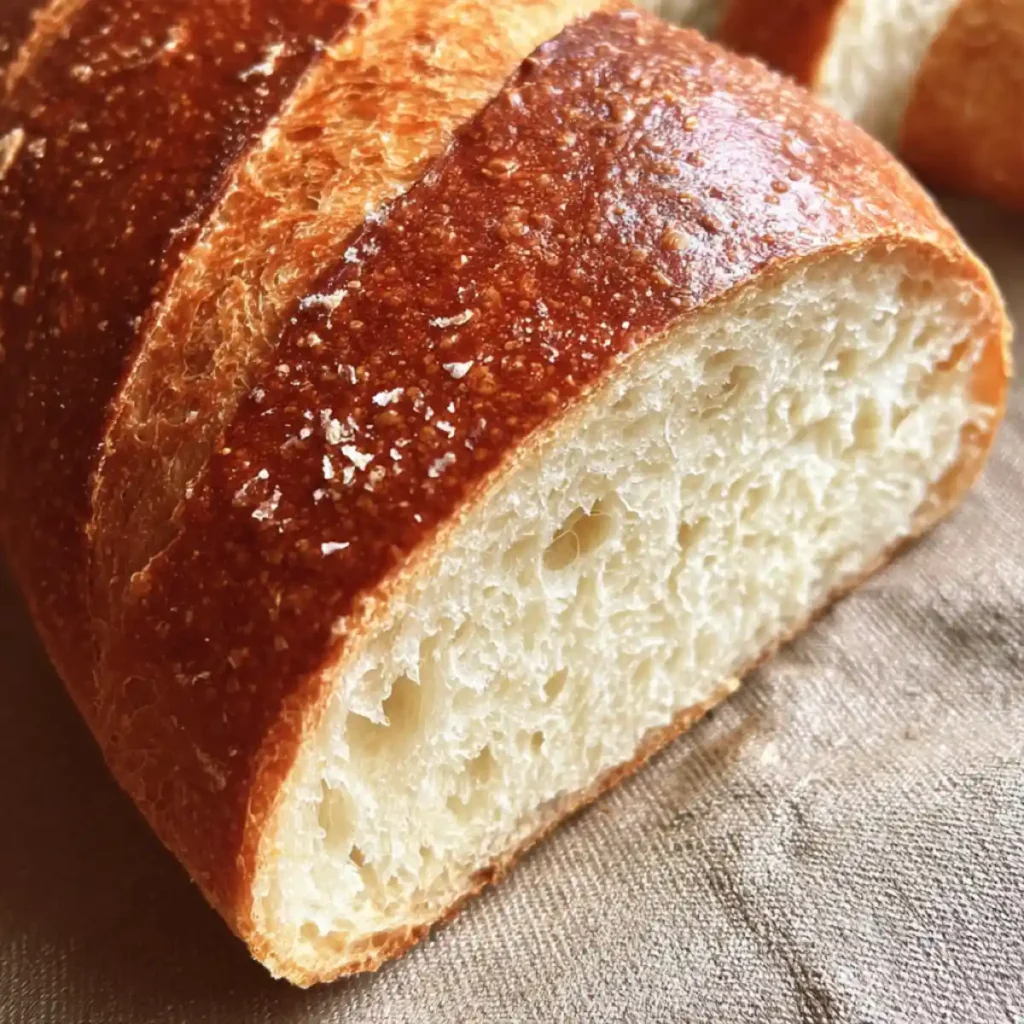
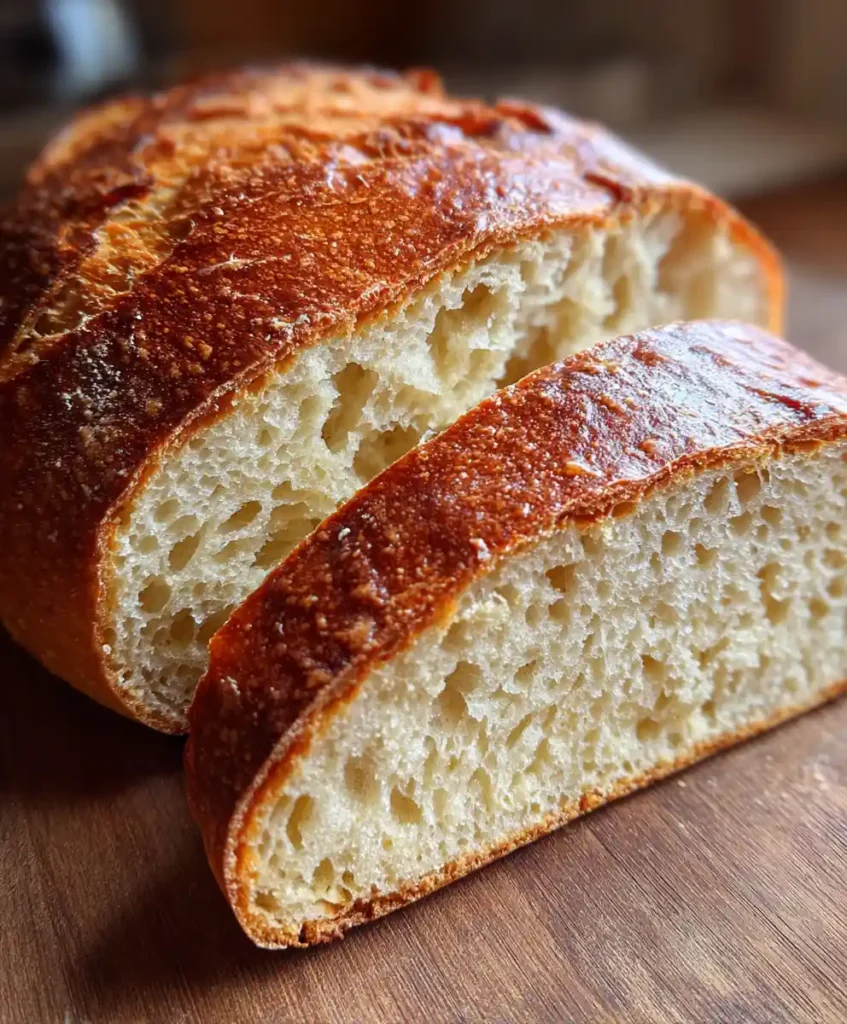
If you’ve ever wanted homemade bread that slices cleanly for sandwiches yet doesn’t take over your entire day, this unloaf sourdough recipe is the answer. It’s a dependable method that works for busy parents, students, and anyone who wants comforting bread without the fuss. This recipe uses simple ingredients, can be measured in cups or grams, and adapts to either an overnight rise or a same-day bake. Tested in my own kitchen with different starters and flours, it’s designed to give you a soft, family-friendly loaf every time.

Table of Contents
Table of Contents
Ingredient Breakdown for the Unloaf Sourdough Recipe with Measurements and Purpose
Making a reliable unloaf sourdough recipe comes down to balancing structure, flavor, and tenderness. Here’s what you’ll need:
- Bread flour or all-purpose flour – 450 g (3 ½ cups)
Bread flour creates more chew, while all-purpose makes a softer crumb. If you’re after a tender sandwich loaf, all-purpose works well. For structure, go bread flour. - Whole wheat or rye flour – 50 g (½ cup) (optional)
Adds nutty flavor and nutrition. Swapping 10–20% of the flour for rye or whole wheat makes a heartier loaf without sacrificing softness. - Active sourdough starter – 100 g (½ cup) at 100% hydration
This is the natural leavening that powers your bread. If you only have unfed starter or discard, you can still bake by adding a pinch of yeast. - Water – 300 g (1 ¼ cups) cool or room temperature
Hydrates the flour and controls fermentation speed. A 65% hydration is a good starting point, but you can adjust up or down depending on flour absorbency. - Salt – 9 g (1 ½ tsp) fine sea salt
Strengthens gluten and balances flavor. - Optional enrichments
- 1 tbsp olive oil or softened butter for a softer crumb
- 1 tbsp honey or buttermilk for gentle sweetness and moisture
- 2 tbsp yogurt for added tenderness
- Flavor add-ins (optional)
Garlic, cinnamon sugar swirls, grated zucchini, or walnuts can turn your unloaf sourdough recipe into a flavorful family treat.
Technique Notes
- Hydration and ratios: Aim for 62–68% hydration. Warmer kitchens may need a little less water; drier climates may need more.
- Autolyse (20–40 minutes): Mixing flour and water before adding starter helps extensibility and gives better texture.
- Starter options: Use a fed starter for strength. If using discard, build a levain or supplement with a pinch of yeast.
- Flour choices: Bread flour gives structure; all-purpose makes it sandwich-friendly; whole wheat or rye adds flavor. Gluten-free bakers can substitute blends with xanthan gum.
- Equipment: A Dutch oven produces a rustic loaf, but a loaf pan or Pullman pan creates perfect sandwich slices.
(In my own tests, baking side by side in a Dutch oven and a loaf pan showed how dramatically equipment changes the crust—Dutch oven gave a crisp crust, while loaf pan yielded the ideal sandwich loaf.)
Step-by-Step Preparation Instructions
- Mix the levain or refresh starter
Use 100 g active starter. If your starter is sluggish, feed it 4–6 hours before baking. - Autolyse
Mix 450 g flour and 300 g water until shaggy. Rest 30 minutes. - Add starter and salt
Add 100 g starter and 9 g salt. Mix until the dough comes together. Use stretch and folds over 10 minutes until smooth. - Bulk fermentation
Let rest 2–4 hours at room temperature, folding every 30 minutes. Dough should rise 60–80% and look bubbly. - Pre-shape and bench rest
Turn dough onto a floured surface, gently shape, and let rest 15 minutes. - Final shaping for unloaf
Form a tight roll and place seam-down in a greased loaf pan (or Dutch oven if using). - Proof
At room temperature, proof 45–90 minutes. The dough should crown 2–3 cm above the pan and spring back slowly when pressed. - Score and bake
- Loaf pan: Bake at 220°C (425°F) for 15 minutes, then reduce to 190°C (375°F) for 20–25 minutes.
- Dutch oven: Preheat to 230°C (450°F), bake covered 20 minutes, uncover 15 minutes until golden.
- Cool fully
Rest on a wire rack for at least 90 minutes before slicing. This sets the crumb for clean cuts.
Variations
- Overnight option: Shape and refrigerate 8–16 hours, then bake straight from cold. This adds flavor and makes scheduling easier.
- Quick same-day option: Use a warmer bulk fermentation (28°C/82°F) and shorten rest times.
- With or without starter: If baking without active starter, use discard plus ½ tsp yeast for rise.
- Dutch oven vs loaf pan vs Pullman: Choose your crust style—rustic crust or sandwich slices.
- Whole wheat or rye upgrade: Swap 10–30% flour for added depth.
- Gluten-free or vegan adaptations: Use a gluten-free flour blend with xanthan gum, and swap butter/milk for olive oil or plant-based yogurt.
(I tested the overnight version during a hectic workweek—it was a lifesaver to wake up, pop the dough into the oven, and have warm bread ready for breakfast and packed lunches.)
When and How to Use the Unloaf Sourdough Recipe for Meal Prep, Lunches, and Freezer-Friendly Slices
This unloaf sourdough recipe is designed for everyday living, not just special weekends.
- Meal prep: Bake two loaves, slice one, and freeze in packs of 2–3 slices. Perfect for quick breakfasts or lunchbox fillers.
- Sunday dinner: Serve it warm with soups, stews, or chili. My family loves brushing slices with garlic butter for pasta nights—it turns the loaf into instant garlic bread.
- Back-to-school lunches: The soft, even crumb makes it great for peanut butter and honey, turkey and cheese, or veggie-loaded sandwiches.
- Storage: Keep in a paper bag inside a bread box for 2–3 days. For longer storage, freeze wrapped slices for up to 2 months.
- Smart serving idea: Toast and top with eggs and avocado, or sprinkle with cinnamon sugar for a simple after-school snack.

How It Supports Family Dinners and Budget Meals with the Unloaf Sourdough Recipe
The unloaf sourdough recipe is more than bread—it’s a household helper.
- Family-friendly: With its mild tang and soft crust, even picky eaters enjoy it. Sliceable texture makes it ideal for sandwiches and toast.
- Budget-conscious: Flour, water, salt, and starter are all low-cost pantry staples. Using sourdough discard reduces waste and makes every feeding count.
- Make-ahead flexibility: The overnight proof fits seamlessly into weekday schedules. Mix one evening, bake the next morning, and you’ve got bread for the week.
- Nutrition-minded adjustments: Swap in whole wheat for fiber, reduce sugar or honey for a lighter loaf, or add buttermilk or yogurt for more protein. (I’m not a nutritionist—just sharing what’s worked for my family.)
- Diet-friendly options: Vegan with olive oil, gluten-free with a solid flour blend and xanthan gum, and dairy-free with plant-based yogurt or milk.
Tips, Adjustments, and Cautions for a Reliable Unloaf Sourdough Recipe
Every home kitchen is a little different, so here’s how to keep your unloaf sourdough recipe consistent:
- Troubleshooting rise and crumb
If your loaf didn’t rise, check starter activity or extend bulk fermentation. For a more open crumb, slightly increase hydration and handle dough gently. - Flavor control
Prefer less sour? Shorten cold proofing or feed your starter more frequently. For tangier bread, extend the fridge proof. - Hydration and ratios
A safe starting point is 65% hydration (300 g water to 450 g flour). Adjust 2–3% up or down depending on flour and kitchen humidity. - High altitude
Dough ferments faster, so shorten proof times and add a touch more water to keep it from drying. - Temperature and doneness
Bake until the loaf reaches an internal temperature of 95–98°C (203–208°F). An oven thermometer ensures accuracy. - Dietary disclaimers
If baking gluten-free, ensure your flour blend includes xanthan gum for structure. For dairy swaps, olive oil or plant yogurt works well. Always double-check ingredients if you’re cooking for allergies.
(When I tested this recipe at high altitude in Colorado, I had to shorten proofing by nearly 30 minutes—worth noting if you live above sea level.)
FAQs about the Unloaf Sourdough Recipe
Can I measure this unloaf sourdough recipe in cups instead of grams?
Yes. Cups work, but grams give the most consistent results. I often include both for accessibility.
Can I bake the unloaf sourdough recipe overnight in the fridge?
Absolutely. Shape the dough, refrigerate 8–16 hours, then bake directly cold. This adds flavor and saves time in the morning.
What if I only have unfed starter or discard?
You can build a quick levain from a spoonful of unfed starter, or use discard with a pinch of yeast for rise. It won’t be as airy but still delicious.
Which flour works best for the unloaf sourdough recipe?
Bread flour gives structure, all-purpose gives softness, and mixing in whole wheat or rye adds flavor and nutrition.
Dutch oven or loaf pan—what’s better?
Loaf pan or Pullman pan is best for sandwich slices, while Dutch oven yields a round rustic loaf with crustier edges.
Can I make a quick and easy version?
Yes. Skip the overnight rest, ferment in a warm spot, and proof briefly. The result is still flavorful but less tangy.
Is it possible to make a vegan or dairy-free unloaf sourdough recipe?
Yes. Swap butter for olive oil, and use plant-based yogurt or milk for enrichment.
Conclusion
This unloaf sourdough recipe is soft, sliceable, and endlessly adaptable—ideal for sandwiches, meal prep, or family dinners. With flexible timing and easy adjustments, it makes sourdough approachable even on the busiest weeks. Bake it once, and you’ll find yourself coming back to it for everyday comfort.
Save this recipe, share it with a fellow home cook, and consider doubling the batch to keep extra slices in the freezer—you’ll thank yourself later.
Print
Unloaf Sourdough Recipe
- Total Time: 1 hour 15 minutes
- Yield: 1 loaf (10 slices)
- Diet: Vegetarian
Description
Soft and sliceable unloaf sourdough recipe made with starter, flour, and water—perfect for sandwiches and family meals.
Ingredients
- 450 g (3 ½ cups) bread flour or all-purpose flour
- 50 g (½ cup) whole wheat or rye flour (optional)
- 100 g (½ cup) active sourdough starter at 100% hydration
- 300 g (1 ¼ cups) water, cool or room temperature
- 9 g (1 ½ tsp) fine sea salt
- 1 tbsp olive oil or softened butter (optional)
- 1 tbsp honey or buttermilk (optional)
- 2 tbsp yogurt (optional)
- Flavor add-ins: garlic, cinnamon sugar swirls, grated zucchini, or walnuts (optional)
Instructions
- Mix the levain or refresh starter: Use 100 g active starter. If sluggish, feed 4–6 hours before baking.
- Autolyse: Mix 450 g flour and 300 g water until shaggy. Rest 30 minutes.
- Add starter and salt: Add 100 g starter and 9 g salt. Mix, then stretch and fold until smooth.
- Bulk fermentation: Rest 2–4 hours at room temp, folding every 30 minutes until risen and bubbly.
- Pre-shape and bench rest: Shape gently, let rest 15 minutes.
- Final shaping: Roll tight, place seam-down in a greased loaf pan or Dutch oven.
- Proof: 45–90 minutes at room temp until dough crowns above pan and springs back slowly.
- Score and bake:
- Loaf pan: Bake at 220°C (425°F) for 15 minutes, reduce to 190°C (375°F) for 20–25 minutes.
- Dutch oven: Preheat to 230°C (450°F), bake covered 20 minutes, uncover for 15 minutes until golden.
- Cool fully: Rest on a wire rack for 90 minutes before slicing.
Notes
- Use bread flour for structure or all-purpose for softness. Whole wheat or rye adds flavor.
- Loaf pan yields sandwich slices; Dutch oven gives a rustic crust.
- Estimate nutrition based on typical sourdough bread values.
- Prep Time: 30 minutes
- Cook Time: 45 minutes
- Category: Lunch
- Method: Baked
- Cuisine: American
Nutrition
- Serving Size: 1 slice (about 60 g)
- Calories: 160
- Sugar: 1g
- Sodium: 240mg
- Fat: 2g
- Saturated Fat: 0.5g
- Unsaturated Fat: 1.5g
- Trans Fat: 0g
- Carbohydrates: 30g
- Fiber: 2g
- Protein: 5g
- Cholesterol: 0mg
