
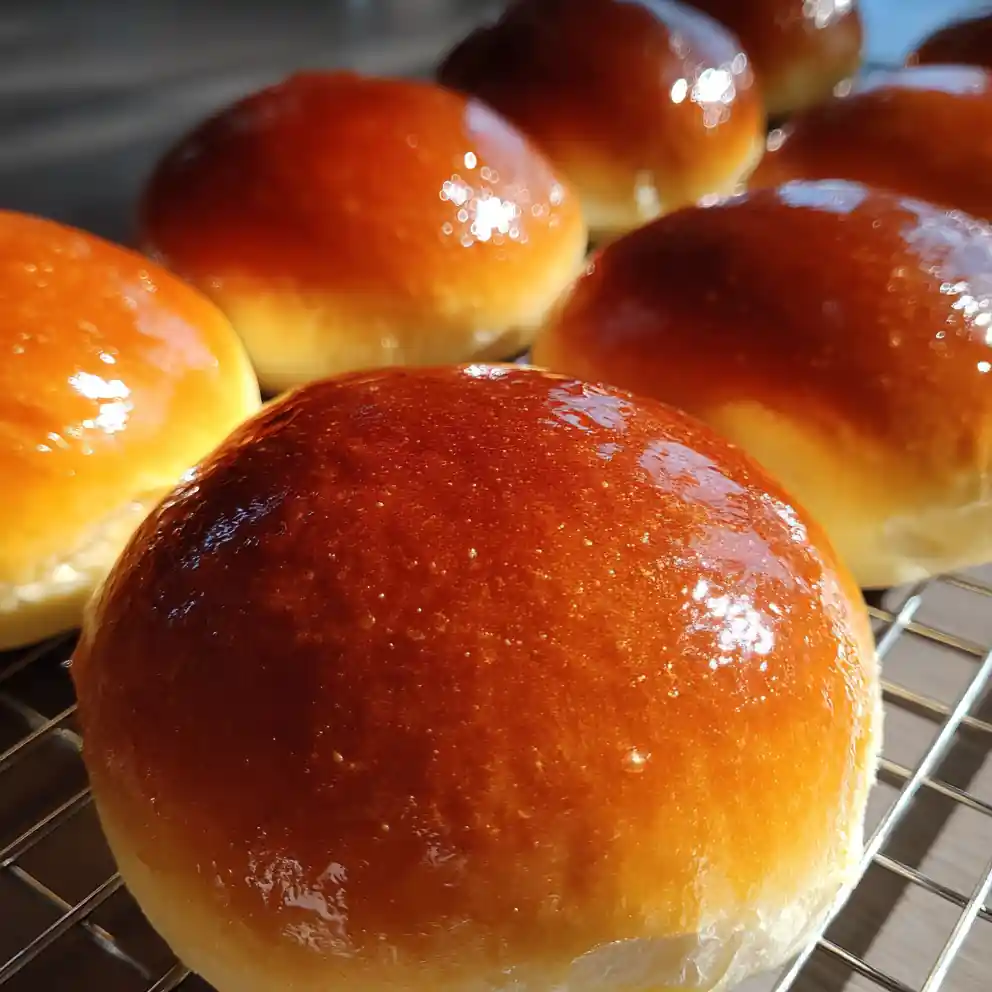
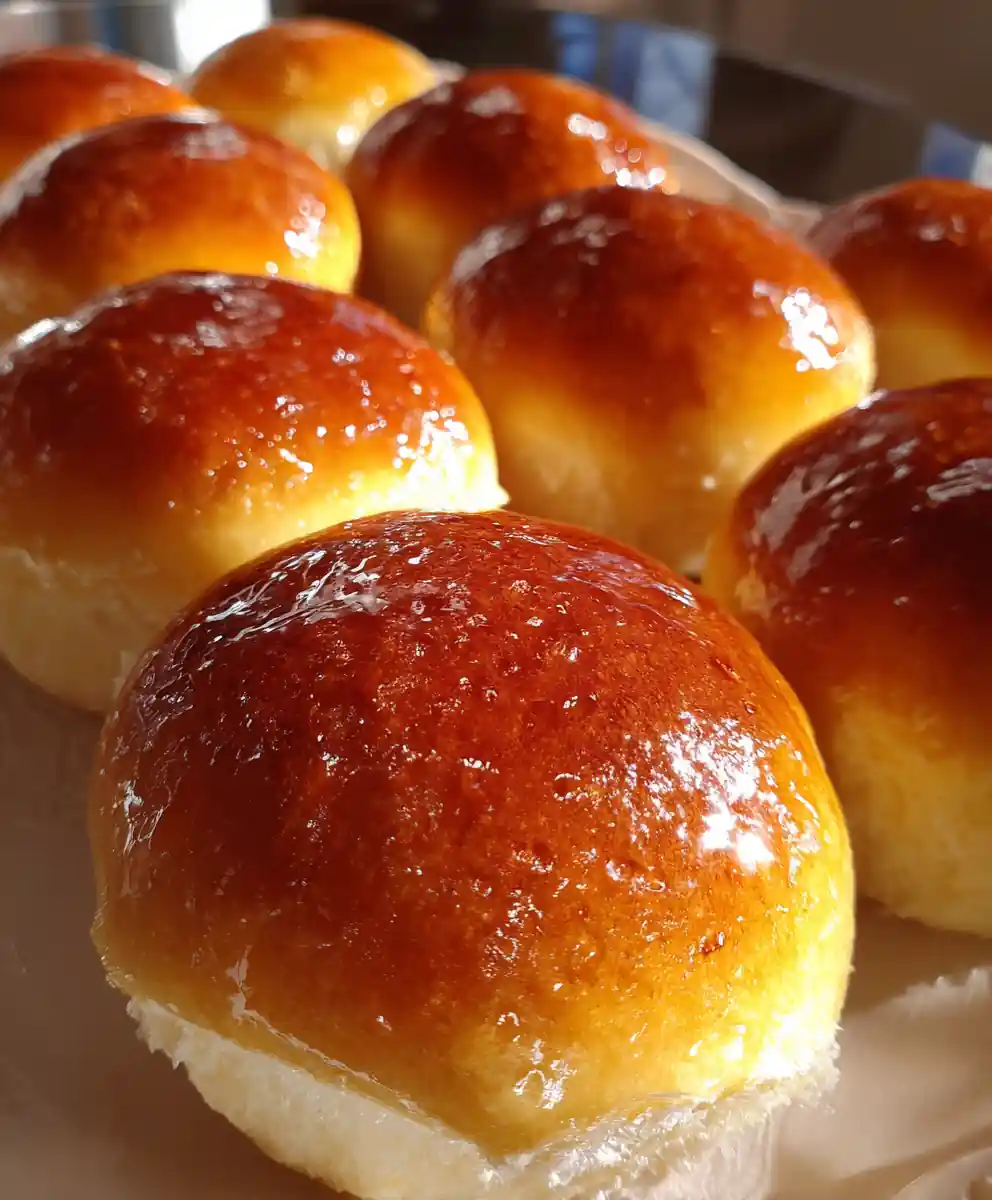
There’s nothing quite like the smell of fresh bread baking, and I promise, this will become your new favorite. This milk buns recipe with shiny milk glaze transforms simple ingredients into bakery-worthy rolls right in your kitchen. Get ready for buns so incredibly soft, they practically melt in your mouth, complete with an irresistible, gleaming finish. Perfect for cozy family breakfasts or as a comforting side to any easy dinner ideas, this tried-and-true method makes homemade bread achievable and delightful for everyone, even on busy weeknights.
Ingredient Essentials and Smart Choices
- All-Purpose Flour: 3 ½ cups (420g) — The essential base for achieving that wonderfully fluffy texture in your milk buns.
- Active Dry Yeast: 2 ¼ teaspoons (7g) — Crucial for the essential, perfect rise, giving your buns their airy structure.
- Milk (whole or 2%): 1 cup (240ml) — Adds richness and tenderness to these delicious milk buns. (I’ve found whole milk yields the most tender crumb, but 2% works beautifully too!)
- Granulated Sugar: ¼ cup (50g) for dough, plus 1 teaspoon for yeast — Balances flavor and fuels the yeast’s activity.
- Salt: 1 teaspoon (6g) — Enhances all the flavors in the dough.
- Unsalted Butter: ¼ cup (56g) melted — For extra richness and a wonderfully tender crumb. (If you only have salted butter, reduce the added salt to ¾ teaspoon.)
- Egg: 1 large, for the shiny milk glaze — Creates that signature, beautiful shiny milk glaze.
- Powdered Sugar: ½ cup (60g), for the glaze — Mixes seamlessly into the glaze for a smooth finish.
- Vanilla Extract: ½ teaspoon for glaze, optional — Adds a lovely aroma and subtle sweetness to the glaze.
- Alternative Swaps: Use plant-based milk and vegan butter for delicious dairy-free milk buns, great for those with dietary needs.
- Premium Upgrades: For a heartier, healthy treat, try replacing ½ cup of all-purpose flour with whole wheat flour; choosing organic ingredients ensures purity in your family’s meals.
- Flavor Boosters: Add a hint of vanilla extract or a touch of orange zest (1 tsp) into the dough for extra depth. For a sweet-savory contrast, sprinkle a tiny pinch of flaky sea salt on the buns before applying the glaze.
Step-by-Step Cooking Method
- Activate Yeast (5 min): In a small bowl, gently warm the 1 cup milk to about 105-115°F (40-46°C) until it’s comfortably warm to the touch. Stir in the 1 teaspoon of sugar and sprinkle the active dry yeast over the top. Let it sit undisturbed for about 5 minutes until it becomes foamy and visibly bubbly, indicating it’s active.
- Mix Dough (10-15 min): In a large mixing bowl or the bowl of a stand mixer, combine the 3 ½ cups all-purpose flour, remaining ¼ cup granulated sugar, and 1 teaspoon salt. Pour in the activated yeast mixture and the ¼ cup melted unsalted butter. Mix with a dough hook on low speed, or knead by hand on a lightly floured surface, for 10-15 minutes until the dough is smooth, elastic, and pulls away from the sides of the bowl. If it looks too dry and isn’t coming together, splash in an extra 1-2 tablespoons of milk, one at a time, until smooth.
- First Rise (60-90 min): Lightly grease a clean bowl with a touch of oil. Transfer the dough to the greased bowl, turning once to coat. Cover the bowl with plastic wrap or a clean kitchen towel and let it rise in a warm spot (like a slightly warm oven turned off, or near a sunny window) for 60-90 minutes, until it has visibly doubled in size and feels airy.
- Shape Buns (15-20 min): Gently punch down the risen dough to release the air. Turn it out onto a lightly floured surface. Divide the dough into 12-16 equal pieces (I like using a kitchen scale for consistent size!). Roll each piece into a smooth, tight ball. Arrange the shaped buns on a large parchment-lined baking sheet, leaving about 2 inches between each.
- Second Rise (30-45 min): Cover the shaped buns loosely with plastic wrap or a clean towel. Let them rise again in a warm spot for 30-45 minutes until they are noticeably puffy and almost doubled in size — they should look light and full.
- Bake (15-20 min): Preheat your oven to 375°F (190°C). Bake the milk buns recipe for 15-20 minutes, or until the tops are beautifully golden brown and they sound hollow when lightly tapped. My kids love helping me peek through the oven door to watch them puff up!
- Apply Shiny Milk Glaze: While the buns are still warm, but not piping hot, prepare the glaze. In a small bowl, whisk together the 1 large egg, ½ cup powdered sugar, and ½ teaspoon vanilla extract until smooth. Generously brush this mixture over the warm buns for that irresistible, signature shiny milk glaze. The glaze will set quickly, creating a delightful sheen.
Serving Suggestions and Everyday Uses
These soft rolls are incredibly versatile, fitting into almost any meal or snack time. I often find myself pulling a fresh batch from the oven just before dinner to serve alongside a hearty stew, and they disappear fast!
- Best Occasions: Ideal for a leisurely breakfast or brunch, perfect as dinner rolls with any meal, great for school lunches, or a comforting afternoon snack. This milk buns recipe ensures they’re always a hit at holiday gatherings.
- Pairings: Serve warm with butter, jam, honey, or a savory spread. They complement stews, soups, and roasted meats beautifully, making them great for family dinners. Pair with coffee or tea for a delightful treat.
- Storage and Reheating: Store in an airtight container at room temperature for up to 3 days. Freeze baked rolls for up to 2 months; thaw and reheat gently in the oven or microwave for fresh taste, perfect for easy meal prep ideas.
Nutrition, Wellness, and Lifestyle Benefits of this Milk Buns Recipe With Shiny Milk Glaze
Making this milk buns recipe with shiny milk glaze at home brings many benefits beyond just taste.
- Homemade Goodness: Control ingredients for a healthier treat, ensuring you know exactly what goes into your family-friendly meals.
- Nourishment: A satisfying source of comfort and energy, perfect for boosting spirits and fueling busy days.
- Customization: Easily adapt to dietary needs; explore options for high-protein snacks by adding nut butters or cheese spreads with your buns.
- Smart Swaps: Consider using a portion of whole grain flour for added fiber, fitting perfectly into healthy meal prep ideas.
Everyday Value and Reader Goals
Embracing homemade baking with these rolls offers practical advantages for your kitchen and lifestyle.
- Save Time & Money: Making your own milk buns is more economical than buying bakery versions and can be a fantastic part of your weekly meal prep routine.
- Practical Benefits: Enjoy fresh bread whenever you want it, perfect for portion control, and delicious leftovers for days.
- Versatility: Serve sweet or savory, adapting to different lifestyles and meal preferences, making them a kitchen staple for easy dinner ideas.
Expert Tips, Variations, and Adjustments
- Advanced Trick: For extra soft, pillowy rolls, try the Tangzhong method (a cooked flour paste) by pre-cooking a small portion of flour and milk before adding it to the dough.
- Seasoning Personalization: Add a teaspoon of cinnamon to the dough for delicious cinnamon buns, or mix in dried herbs like rosemary for a savory twist.
- Dietary Adaptations: Use gluten-free flour blends (adjusting liquid as needed, often 1:1 or with slightly more liquid) for a gluten-friendly version. Reduce sugar in the dough and glaze for diabetic-friendly options. Kid-approved shaping ideas include mini rolls or animal shapes for fun.
Common Questions Answered
Is this milk buns recipe good for a balanced diet?
Yes, enjoyed in moderation, this homemade bread can be a comforting part of a balanced diet, especially when made with quality organic ingredients and potentially whole grains for added fiber. These delightful buns are a welcome component of family-friendly meals.
What’s the best way to store milk buns for meal prep?
Store baked and cooled milk buns in an airtight container at room temperature for up to 3 days. For longer term meal prep, freeze them for up to 2 months; thaw overnight in the fridge and reheat at 300°F (150°C) for 10 minutes or microwave for 20-30 seconds until warm.
Can I use this milk buns recipe with online grocery delivery or meal kits?
Absolutely! All ingredients for this delicious milk buns recipe are standard and readily available through online grocery delivery services or can be easily added to your next meal kit shopping list for maximum convenience.
How do I get a perfect shiny milk glaze?
Ensure the buns are still warm, but not piping hot, when you brush on the glaze. Apply generously and evenly for maximum shine and irresistible appeal. I like to use a pastry brush to ensure every curve gets coated, for that extra professional look.
Can I make the milk buns dough ahead of time?
Yes, you can prepare the dough, complete the first rise, and then refrigerate it overnight (up to 24 hours). Let it come to room temperature for about 30-60 minutes before shaping and the second rise for best results and soft, pillowy rolls.
Why are my milk buns not soft?
This could be due to over-kneading, insufficient proofing time, or using too much flour. Ensure your yeast is active and dough is properly risen for ultimate softness and fluffy texture. Always measure your flour by weight if possible for accuracy.
Embrace the joy of baking with this ultimate milk buns recipe with shiny milk glaze, delivering unparalleled softness and flavor right from your oven. I hope you’ll cherish these for quick meals and family dinners; be sure to save this recipe on Pinterest to enjoy time and again!
Print
milk buns recipe With Shiny Milk Glaze
- Total Time: 195 minutes
- Yield: 12 to 16 buns
- Diet: General
Description
This milk buns recipe creates incredibly soft, bakery-worthy rolls with an irresistible, gleaming finish, perfect for cozy family breakfasts or as a comforting side to any dinner.
Ingredients
- 3.5 cups (420g) all-purpose flour
- 2.25 teaspoons (7g) active dry yeast
- 1 cup (240ml) milk (whole or 2%)
- 0.25 cup (50g) granulated sugar, plus 1 teaspoon for yeast
- 1 teaspoon (6g) salt (or 0.75 teaspoon if using salted butter)
- 0.25 cup (56g) unsalted butter, melted
- 1 large egg, for the shiny milk glaze
- 0.5 cup (60g) powdered sugar, for the glaze
- 0.5 teaspoon vanilla extract, optional (for glaze)
Instructions
- Activate Yeast: In a small bowl, warm 1 cup milk to 105-115°F (40-46°C). Stir in 1 teaspoon sugar and sprinkle active dry yeast over top. Let sit for 5 minutes until foamy.
- Mix Dough: In a large mixing bowl or stand mixer, combine 3.5 cups all-purpose flour, remaining 0.25 cup granulated sugar, and 1 teaspoon salt. Pour in activated yeast mixture and 0.25 cup melted unsalted butter. Mix with a dough hook or knead by hand for 10-15 minutes until smooth and elastic.
- First Rise: Lightly grease a clean bowl, transfer dough, turning once to coat. Cover and let rise in a warm spot for 60-90 minutes until doubled in size.
- Shape Buns: Gently punch down dough, turn onto a lightly floured surface. Divide into 12-16 equal pieces and roll each into a smooth ball. Arrange on a parchment-lined baking sheet, leaving 2 inches between each.
- Second Rise: Cover shaped buns loosely with plastic wrap or a clean towel. Let rise in a warm spot for 30-45 minutes until puffy and almost doubled.
- Bake Buns: Preheat oven to 375°F (190°C). Bake for 15-20 minutes until golden brown and hollow when tapped.
- Apply Shiny Glaze: While buns are warm (not piping hot), whisk together 1 large egg, 0.5 cup powdered sugar, and 0.5 teaspoon vanilla extract until smooth. Generously brush over warm buns for a delightful sheen.
Notes
If dough is too dry, add 1-2 tablespoons of milk, one at a time. If using salted butter, reduce added salt to 0.75 teaspoon. For dairy-free buns, use plant-based milk and vegan butter. For a heartier treat, replace 0.5 cup all-purpose flour with whole wheat flour. Add 1 teaspoon orange zest or vanilla extract to the dough, or a pinch of flaky sea salt on top before glazing, for extra flavor.
- Prep Time: 40 minutes
- Cook Time: 20 minutes
- Category: Bread
- Method: Baking
- Cuisine: American
Nutrition
- Serving Size: 1 bun (approx 75 g)
- Calories: 215 calories
- Sugar: 9.5 g
- Sodium: 200 mg
- Fat: 4.8 g
- Saturated Fat: 2.7 g
- Unsaturated Fat: 2.2 g
- Trans Fat: 0 g
- Carbohydrates: 30.5 g
- Fiber: 1 g
- Protein: 4.5 g
- Cholesterol: 15 mg
FREE PRINTABLE RECIPE
Get the Printable Recipe PDF (Free)
Enter your email and we’ll send you the ingredients + step-by-step instructions as a clean PDF you can save to your phone.
- ✅ Printable PDF (ingredients + steps)
- ✅ Save it to your phone (no long scrolling)
- ✅ Includes cook time + servings
- ✅ Easy to follow
FAQ
Where’s the full recipe?
It’s delivered as a printable PDF so you can save it and cook without scrolling.
I didn’t get the email.
Check Spam/Promotions and search your inbox for your site name. Then click Confirm to receive the PDF.