
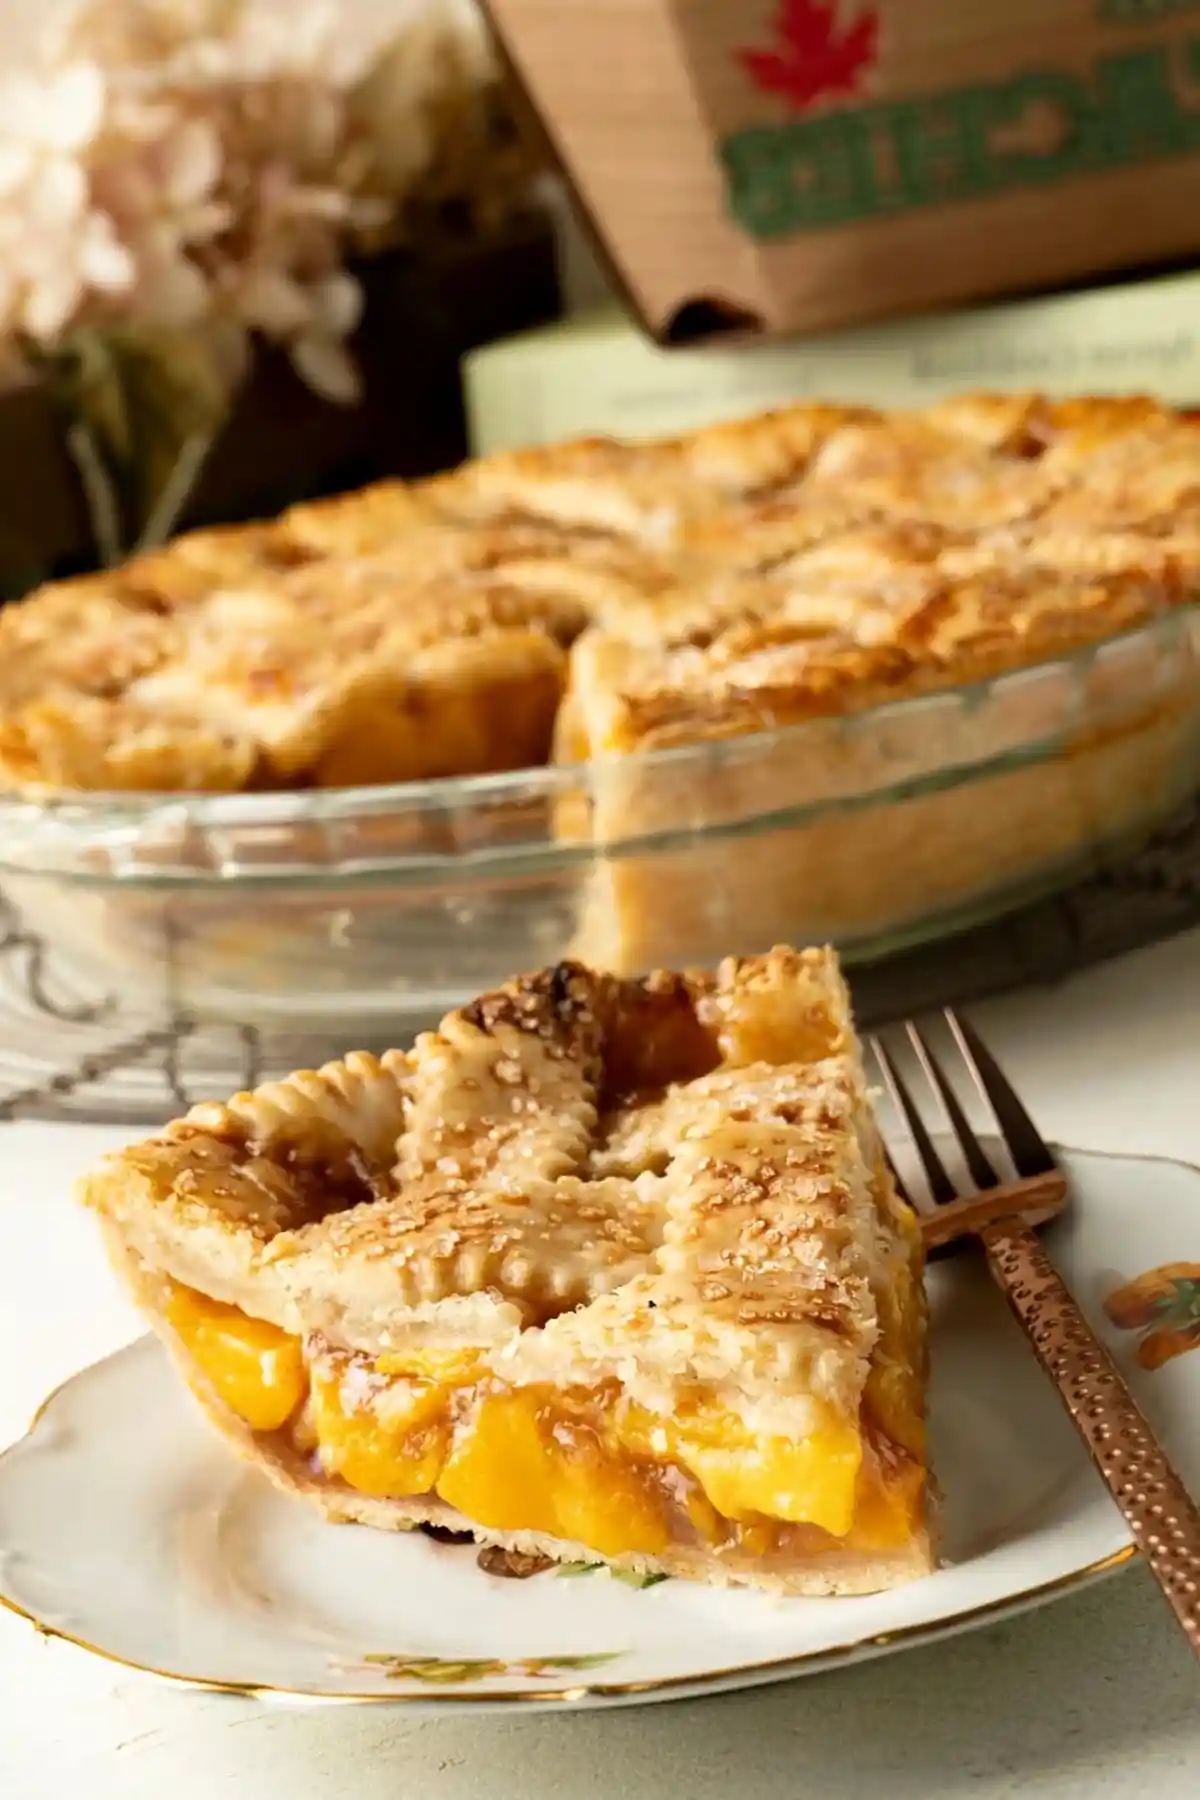
This recipe provides a simple method for creating a classic fruit pie using canned peaches for year-round availability. It features a thick, bubbly filling and a golden-brown crust that works for any occasion.
List of ingredients
- 45 oz sliced canned peaches (3 small cans) – drained well.
- 3/4 cup granulated sugar – for sweetness.
- 1 tbsp lemon juice – adds necessary acidity.
- 1 tsp vanilla – enhances the peach flavor.
- 1/2 tsp ground cinnamon – provides warmth.
- 1/3 cup cornstarch – acts as the primary thickener.
- 1 tbsp unsalted butter – dotted on top for richness.
- 1 egg – for the egg wash.
- 1 tbsp water – to thin the egg wash.
- 1 tbsp coarse sugar (optional) – for a decorative crunch.
- 2 9″ pie shells – bottom and top crusts.
step-by-step instructions
- Prepare the oven: Preheat your oven to 350°F. Position the baking rack in the bottom 1/3 of the oven to ensure the bottom crust cooks thoroughly.
- Drain the fruit: Use a strainer to remove all the juice from the canned peaches.
- Mix the filling: Place the drained peaches in a large bowl. Stir in the granulated sugar, vanilla, lemon juice, and cinnamon until the fruit is evenly coated.
- Thicken the mixture: Using a sifter, gradually sprinkle cornstarch over the peaches while mixing. Continue this process until all the cornstarch is fully integrated and no lumps remain.
- Assemble the base: Fit one pie crust into the bottom of a 9″ pie dish. Pour the prepared peach filling into the crust.
- Add butter: Cut the unsalted butter into small pieces. Distribute these pieces evenly across the top of the peach filling.
- Top the pie: Place the second pie crust over the filling. Seal the edges using a fork or a fluting tool. If using a solid crust, cut several slits in the top to allow steam to escape.
- Apply the glaze: Whisk together the egg and water in a small bowl. Brush the mixture evenly over the top crust and sprinkle with coarse sugar.
- Bake the pie: Bake for 55-65 minutes. The pie is ready when both the top and bottom are golden brown and the filling is bubbling.
- Cool and serve: Allow the pie to cool for approximately one hour before slicing. Serve it warm or cold.
Filling Preparation Techniques
Effective Drainage for Canned Peaches
Draining the peaches thoroughly with a sieve prevents the filling from becoming too watery. Excess syrup can dilute the thickeners and lead to a soggy bottom crust during the baking process.
Techniques for Smooth Cornstarch Integration
Sifting the cornstarch over the peaches prevents the formation of clumps. Adding it gradually while stirring ensures the thickener is evenly distributed, resulting in a consistent texture throughout the pie.
Optimizing the Balance of Sweetness and Acidity
The addition of lemon juice is critical to balance the sweetness of the canned peaches and granulated sugar. This acidity brightens the overall flavor profile and mimics the taste of fresh fruit.
Maintaining Fruit Integrity
When mixing the ingredients, stir gently to avoid breaking the peach slices into smaller pieces. Keeping the slices intact provides a better visual presentation and a more satisfying mouthfeel.
Pastry Management and Finishing
Using Store-Bought vs. Homemade Dough
While homemade pastry offers a more tender and flaky result, high-quality store-bought shells are a practical alternative. If using store-bought dough, ensure it is chilled but not frozen before placing it in the dish.
Achieving a Golden Brown Finish
The egg wash is essential for creating a professional, glossy sheen on the top crust. Applying it evenly without leaving puddles prevents certain areas from darkening faster than others.
Creating a Lattice Top Design
For a more decorative look, cut the top crust into strips and weave them into a lattice pattern. This design allows for more steam release than simple slits and improves the visual appeal of the dessert.
Sealing the Edges Securely
Using a fork to crimp the edges ensures the filling does not leak out during baking. Alternatively, using a fluting technique creates a professional edge that holds the crust firmly against the pie plate.
Oven Settings and Cooling Process
Optimizing Oven Rack Placement
Placing the rack in the bottom third of the oven exposes the bottom crust to more direct heat. This is the most effective way to avoid a soggy bottom and ensure a crisp base.
Identifying Doneness
The pie is finished when the crust is a deep golden brown and the filling bubbles through the vents. Bubbling filling indicates that the cornstarch has reached the necessary temperature to thicken properly.
The Importance of Cooling Time
Allowing the pie to cool for at least one hour is necessary for the filling to set. Slicing into a hot pie often causes the filling to ooze out, resulting in messy portions.
Handling Hot Filling Safely
When checking the bottom of a glass pie plate, do not lift the dish directly over your head. Instead, peek under the dish to avoid accidental drips of hot filling on your skin.
Ingredient Alternatives and Tweaks
Swapping Granulated Sugar for Brown Sugar
Substituting brown sugar for granulated sugar adds a deeper, molasses-like flavor to the filling. This change creates a richer taste that pairs well with the cinnamon.
Alternative Thickeners to Cornstarch
If cornstarch is unavailable, clear gelatin or tapioca starch can be used as a substitute. Adjust the quantities based on the specific thickening power of the alternative agent used.
Adding Different Spices
A pinch of ground nutmeg or ginger can be added along with the cinnamon for a more complex flavor. These spices complement the sweetness of the peaches without overpowering them.
Using Fresh Peaches Instead
When using fresh peaches, peel and slice them to a similar thickness as canned slices. You may need to increase the cornstarch slightly as fresh peaches release more moisture than canned ones.
Serving and Pairing Ideas
Pairing with Vanilla Ice Cream
Serving a warm slice of peach pie with a scoop of vanilla ice cream creates a classic contrast of temperatures. The melting ice cream acts as a creamy sauce for the fruit filling.
Adding Fresh Whipped Cream
A dollop of unsweetened whipped cream adds a light, airy texture to the dense pie. This pairing helps cut through the sweetness of the canned peach filling.
Serving Temperature Options
This pie is versatile and can be enjoyed warm, at room temperature, or chilled. Cold slices tend to be firmer and easier to cut, while warm slices offer a more aromatic experience.
Storage and Shelf Life
Countertop Storage Duration
Because this is a simple fruit pie, it can be stored on the kitchen counter for up to three days. Ensure the area is cool and away from direct sunlight to maintain quality.
Using Plastic Wrap to Maintain Freshness
Covering the pie tightly with plastic wrap prevents the crust from drying out and protects the filling from absorbing other odors. This keeps the pastry from becoming stale prematurely.
Freezing and Thawing the Pie
Unbaked pies can be frozen for future use, or fully baked pies can be frozen and thawed. Wrap the pie in foil and plastic wrap to prevent freezer burn during storage.
Effective Reheating Methods
Oven Reheating for Crispy Crust
To restore the crispness of the crust, reheat individual slices in a 300°F oven for 10-15 minutes. This method prevents the pastry from becoming soft or soggy.
Microwave Reheating for Speed
For a quick warm-up, use a microwave on medium power for 30-60 seconds. Be aware that this method may make the crust softer than oven reheating.
Common Baking Issues and Solutions
Preventing a Soggy Bottom Crust
In addition to lower rack placement, you can lightly dust the bottom crust with flour before adding the filling. This creates a small barrier that limits moisture penetration into the dough.
Fixing a Too-Runny Filling
If the filling remains runny after cooling, it usually indicates insufficient thickener or underbaking. Ensure the filling bubbles during baking to activate the cornstarch.
Addressing Over-Browned Edges
If the edges of the crust brown too quickly, cover them with a ring of aluminum foil. This protects the edges while allowing the center of the pie to finish baking.
Frequently Asked Questions
Can I use peaches in heavy syrup?
Yes, you can use peaches in heavy syrup, but you must drain them very thoroughly. You may also choose to slightly reduce the amount of added granulated sugar to compensate for the syrup.
Does the pie need to be refrigerated?
This specific peach pie does not require refrigeration for up to three days. However, if your kitchen is exceptionally warm, refrigerating it will extend its shelf life.
Can I make this pie vegan?
To make this pie vegan, replace the unsalted butter with plant-based butter and use an almond milk and maple syrup mixture instead of the egg wash.
What is the best way to slice the pie?
Use a sharp serrated knife to saw through the crust gently. This prevents the crust from crushing and keeps the slices looking clean and professional.
Print
Easy Homemade Peach Pie Using Canned Peaches
- Total Time: 135 minutes
- Yield: 8 slices
- Diet: General
Description
There’s nothing quite like a slice of peach pie that tastes just like Grandma used to make for the town fair. This easy recipe uses canned peaches, a hint of cinnamon, sugar, and just the right amount of cornstarch to thicken it to perfection. Baked until the crust is golden and topped with a sprinkle of coarse sugar for a little sparkle and crunch, this pie turns out beautifully every single time, no matter the season.
Ingredients
- 45 oz sliced canned peaches (3 small cans)
- 3/4 cup granulated sugar
- 1 tbsp lemon juice
- 1 tsp vanilla
- 1/2 tsp ground cinnamon
- 1/3 cup cornstarch
- 1 tbsp unsalted butter
- 1 egg
- 1 tbsp water
- 1 tbsp coarse sugar (optional)
- 2 9″ Pie shells
Instructions
- Step 1: Preheat your oven to 350°F. Lower a baking rack to the bottom 1/3 of the oven.
- Step 2: Use a strainer to strain the juice from canned peaches.
- Step 3: Add the peaches to a large bowl and add the granulated sugar, vanilla, lemon juice and cinnamon. Mix well to combine.
- Step 4: Use a sifter to gradually sift a little cornstarch at a time over the top of the pie and mix. Repeat until all of the cornstarch is mixed into the peach pie filling.
- Step 5: Add a pie crust to the bottom of the 9″ pie dish and pour the peach pie filling into it.
- Step 6: Cut the butter up into small pieces and dot the top of the peach pie filling with the pieces of butter evenly.
- Step 7: Cover the pie with the remaining pie crust and seal the edges with a fork or flute. If using a solid pie crust and not a weave make sure to cut slits in the top of the crust to allow the steam for vent out.
- Step 8: Add the egg and water to a small bowl and whisk. Use a basting brush to brush the egg wash over the top of the pie then sprinkle with the coarse sugar.
- Step 9: Baked for 55-65 minutes. The pie is done when the bottom and top are both golden brown and the filling is bubbling. When done let the pie cool for about an hour. Serve warm or cold.
Notes
Store leftover pie on the counter for up to 3 days covered tightly with plastic wrap.
- Prep Time: 15 minutes
- Cook Time: 60 minutes
- Category: Dessert
- Method: Baking
- Cuisine: American
Nutrition
- Serving Size: 1 slice
- Calories: 189 kcal
- Sugar: 34 g
- Sodium: 31 mg
- Fat: 3 g
- Saturated Fat: 1 g
- Unsaturated Fat: 1.3 g
- Trans Fat: 0.1 g
- Carbohydrates: 42 g
- Fiber: 3 g
- Protein: 2 g
- Cholesterol: 24 mg