
I’ve always found making truly amazing tempura at home incredibly satisfying. The secret to that perfectly airy, golden crunch lies in this simple recipe for Light and Crispy Tempura Batter for Vegetables and Shrimp. You’ll achieve restaurant-quality results that are surprisingly easy, transforming a regular meal into a delightful family dinner.
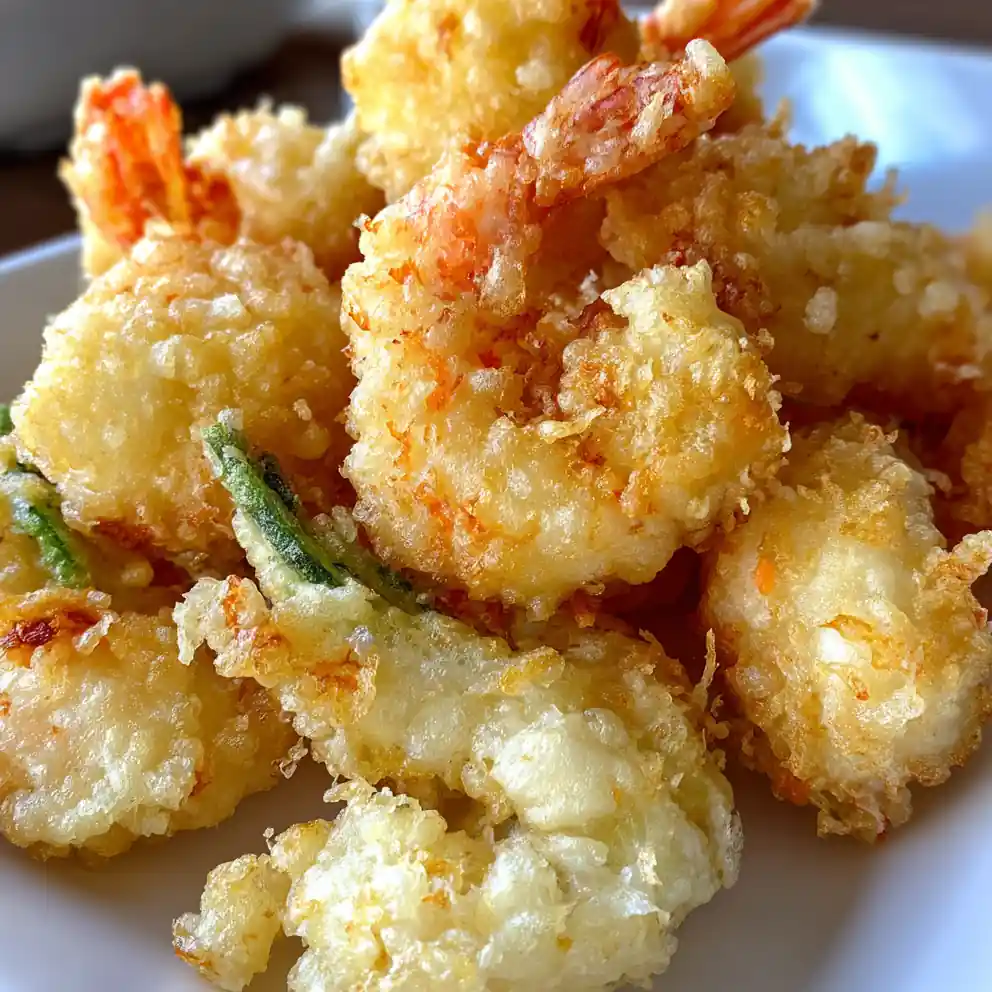
What You’ll Need (Ingredients and Why They Matter)
All-Purpose or Cake Flour: 1 cup (120g) all-purpose flour (or cake flour for an even finer texture). This provides essential structure without being heavy. Avoid over-mixing to keep it light.
Cornstarch or Rice Flour: ½ cup (60g) cornstarch or rice flour. My go-to for that extra crispy, delicate crunch in the Light and Crispy Tempura Batter. This is a game-changer.
Ice-Cold Water (Crucial!): 1 cup (240ml) ice-cold water. Absolutely crucial! This keeps the gluten from developing, ensuring your tempura batter remains light and airy.
Large Egg: 1 large egg. This helps bind the batter components together and adds a touch of richness.
Baking Powder (Optional): 1 teaspoon baking powder (optional, but I often use it). A small amount enhances lightness and puffiness, giving a beautiful lift to your fried items.
Neutral Frying Oil: 3-4 cups (700-950ml) neutral frying oil. Canola, vegetable, or grapeseed oil work best due to their high smoke point. I find grapeseed oil offers a very clean taste.
Your Choice of Fresh Vegetables: 2-3 cups (approx. 300-450g) fresh vegetables. Broccoli florets, sweet potato slices, green beans, mushrooms, or bell pepper strips all work beautifully. (Or zucchini if that’s what’s in the fridge).
Shrimp: 1 pound (450g) large shrimp. Peeled, deveined, and tail-on for easy handling and presentation. Butterfly cut larger shrimp if desired.
Flavor Boosters: ½ teaspoon salt. A simple pinch of salt seasons the batter itself, enhancing the overall flavor.
Smart Swaps: For dietary needs, use a gluten-free all-purpose flour blend (such as Bob’s Red Mill 1-to-1 Baking Flour, my choice for Light and Crispy Tempura Batter for Vegetables and Shrimp that’s gluten-free).
Easy Step-by-Step Cooking Guide
Prep Your Ingredients (5-10 min): Wash and thoroughly dry your chosen vegetables; they should feel completely dry to the touch. Peel and devein shrimp, leaving tails on. This takes about 5-10 minutes. Dry ingredients are key for the batter to adhere well.
Make the Ice Bath: Fill a large bowl with ice and water, then place a smaller mixing bowl inside it. This proactive step keeps your Light and Crispy Tempura Batter for Vegetables and Shrimp perfectly cold throughout the process, about 2-3 minutes to set up.
Whisk the Wet Ingredients: In the cold inner bowl, gently whisk the egg into the ice-cold water until just combined. You’ll see the water start to lighten slightly, taking about 1 minute.
Combine Dry Ingredients: In a separate bowl, whisk together the flour, cornstarch/rice flour, and baking powder (if using) with a pinch of salt. Make sure it’s lump-free and uniform in color, about 1-2 minutes.
Mix the Light and Crispy Tempura Batter (2 min): Add the dry ingredients to the wet. Stir *just* until combined – a few lumps are perfectly fine and even desired for maximum crispiness. Do not overmix, as this develops gluten and makes your tempura chewy. I usually give it about 10-12 gentle stirs until the flour just disappears, which takes less than 2 minutes. If it looks completely smooth, you’ve likely overmixed; adding a tablespoon of sparkling water can sometimes help revive a heavy batter.
Heat Your Oil (5-8 min): Pour 2-3 inches of neutral frying oil into a heavy-bottomed pot or Dutch oven (my trusty 5-quart Dutch oven is perfect). Heat to 350-375°F (175-190°C). A thermometer is essential here; look for a gentle shimmer on the oil’s surface.
Batter and Fry (2-4 min per batch): Dip one piece of vegetable or shrimp into the tempura batter, letting excess drip off. Carefully lower into the hot oil. Fry in small batches to avoid overcrowding, which dramatically drops the oil temperature and leads to soggy results. You’ll hear an immediate, lively sizzle. This takes 2-4 minutes per batch. My kids love helping me dip the vegetables, making it a fun, family-friendly activity on busy weeknights.
Golden Perfection: Cook until golden brown and gloriously crispy, about 2-4 minutes, turning once if needed for even color. The batter will visibly puff up and turn a beautiful light gold, signaling it’s ready.
Drain and Serve: Remove with a slotted spoon or spider and place on a wire rack set over paper towels to drain excess oil. Serve immediately to enjoy that signature Light and Crispy Tempura Batter for Vegetables and Shrimp texture!
Shortcut: Using pre-cut vegetable mixes is a great way to save prep time for quick meals. This makes healthy eating even more convenient.
Dietary Note: For gluten-free versions of this Light and Crispy Tempura Batter for Vegetables and Shrimp, ensure all your dry ingredients, especially the flour blend and cornstarch, are certified gluten-free.
Here’s how to get the most from your delicious homemade tempura, from smart pairings to making it fit your busy family lifestyle.
Serving Ideas, Pairings, and Make-Ahead Uses
Perfect Moments: Ideal for a fun family dinner or a delightful lunch. Best enjoyed fresh for maximum crispness.
Pair with: Serve with soy-ginger dipping sauce, sweet chili sauce, or steamed rice for an easy dinner idea.
Prep in Advance: Prep veggies and shrimp ahead, storing chilled. Cooked tempura is best fresh but can be re-crisped in a hot oven (375°F/190°C) if needed.
Wellness and Lifestyle Benefits with Light and Crispy Tempura Batter
Balanced Eating: A tasty way to include more fresh, healthy vegetables in your family’s diet for healthy eating.
High-Protein Options: With shrimp, it becomes a satisfying, high-protein meal or snack, boosting energy.
Family-Friendly Fun: Kids love choosing and dipping, making it a great family-friendly activity and easy dinner solution.
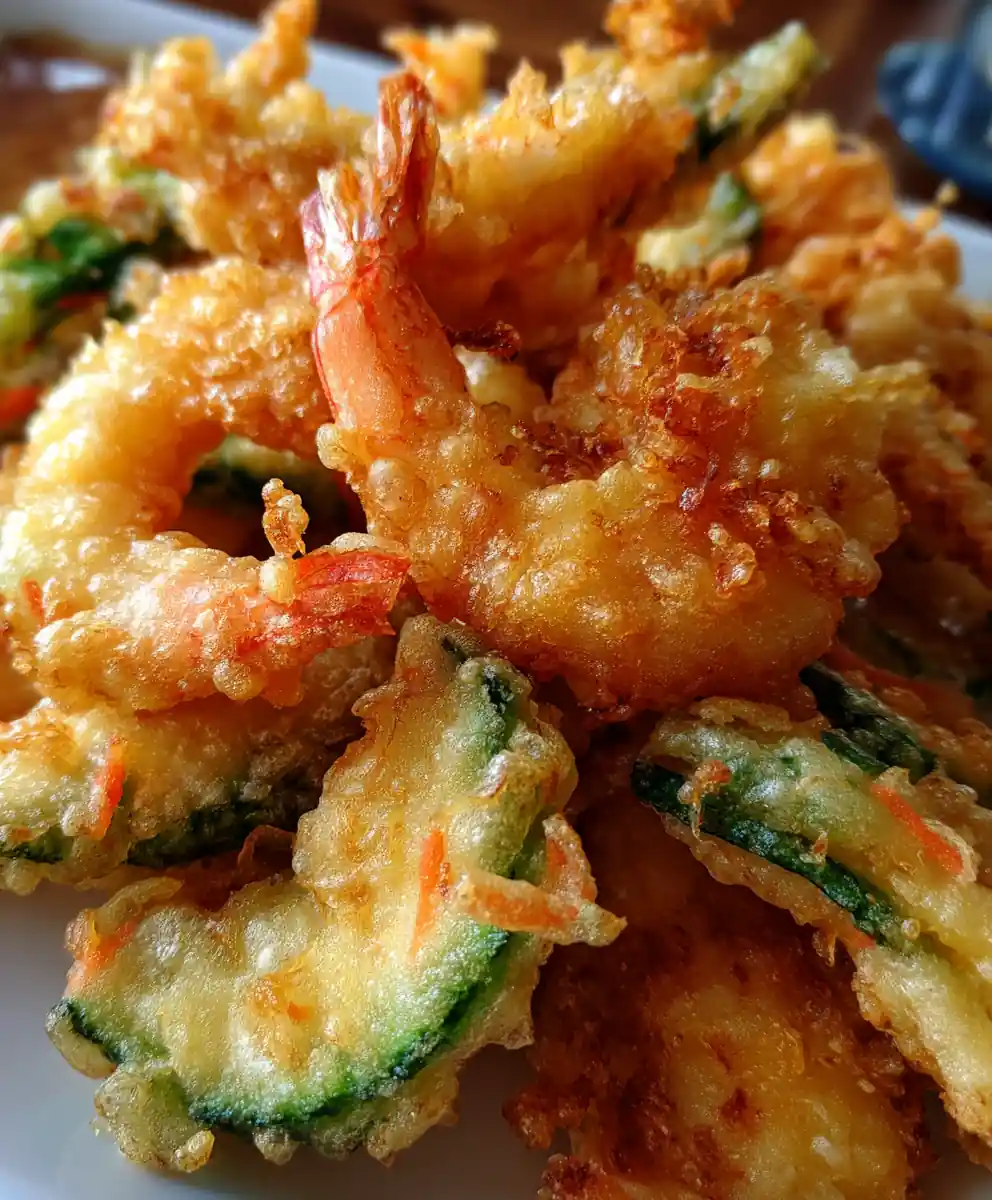
Everyday Value and Flexibility
Cost-Effective: Significantly cheaper than takeout, saving you money while eating well at home.
Reduced Waste: Efficiently use up seasonal produce, turning any extra veggies into a delicious meal.
Chef’s Notes and Customization Options
Extra Crispy Tip: I sometimes use sparkling water for half the ice water in my light and crispy tempura batter for an even airier texture.
Seasoning Variations: Add garlic powder or Japanese seven-spice to the dry batter mix for extra flavor.
Kid-Friendly Tweaks: Mild veggies like zucchini are great. Letting kids help dip (supervised) makes it a fun, hands-on family meal.
Allergy-Friendly: Gluten-free flour blends work well; ensure frying oil suits all dietary needs.
Beyond Veggies and Shrimp: This light and crispy tempura batter also shines with thin chicken slices or white fish fillets.
Common Questions Answered
Why is my tempura batter not crispy?
Over-mixing creates gluten. Use ice-cold water and maintain oil at 350-375°F for crispness.
What’s the best oil for frying tempura?
Neutral, high smoke point oils like canola or vegetable oil are ideal for a clean taste and perfectly golden, light and crispy tempura results.
Can I make Light and Crispy Tempura Batter for Vegetables and Shrimp gluten-free?
Yes, use a good gluten-free all-purpose flour blend. I find blends with rice flour yield the best crisp texture.
How do I prevent soggy tempura?
Avoid overcrowding; this drops oil temperature. Fry in small batches and drain on a wire rack immediately to keep it crisp.
What vegetables are best for tempura?
Sweet potato, broccoli, mushrooms, green beans, and asparagus are popular. Experiment with fresh, firm vegetables.
What’s the best way to store leftovers of Light and Crispy Tempura Batter for Vegetables and Shrimp?
Store cooked tempura in an airtight fridge container for up to 2 days. Uncooked batter is not suitable for storage.
Achieving that perfect light and crispy tempura batter at home is easier than you think. You’re ready to create delicious, golden-fried vegetables and shrimp for impressive family dinners and quick meals. Save this simple, family-friendly recipe on Pinterest for your next cooking adventure.
Print
Light and Crispy Tempura Batter for Vegetables and Shrimp
- Total Time: 35 minutes
- Yield: 4-6 servings
- Diet: General, Gluten-Free option
Description
This recipe provides a simple guide to making light and crispy tempura batter for vegetables and shrimp at home. It aims for restaurant-quality results, transforming a regular meal into a delightful family dinner with a perfectly airy, golden crunch.
Ingredients
- 1 cup (120g) all-purpose flour (or cake flour)
- 0.5 cup (60g) cornstarch (or rice flour)
- 1 cup (240ml) ice-cold water
- 1 large egg
- 1 teaspoon baking powder (optional)
- 3–4 cups (700-950ml) neutral frying oil (canola, vegetable, or grapeseed)
- 2–3 cups (300-450g) fresh vegetables (e.g., broccoli florets, sweet potato slices, green beans, mushrooms, bell pepper strips, or zucchini)
- 1 pound (450g) large shrimp (peeled, deveined, tail-on)
- 0.5 teaspoon salt
Instructions
- Prep Ingredients: Wash and thoroughly dry your chosen vegetables. Peel and devein shrimp, leaving tails on.
- Make Ice Bath: Fill a large bowl with ice and water, then place a smaller mixing bowl inside it to keep the batter perfectly cold.
- Whisk Wet Ingredients: In the cold inner bowl, gently whisk the egg into the ice-cold water until just combined.
- Combine Dry Ingredients: In a separate bowl, whisk together the flour, cornstarch/rice flour, and baking powder (if using) with a pinch of salt until lump-free.
- Mix Tempura Batter: Add the dry ingredients to the wet. Stir just until combined; a few lumps are perfectly fine and even desired. Do not overmix.
- Heat Your Oil: Pour 2-3 inches of neutral frying oil into a heavy-bottomed pot and heat to 350-375°F (175-190°C).
- Batter and Fry: Dip one piece of vegetable or shrimp into the tempura batter, letting excess drip off. Carefully lower into the hot oil. Fry in small batches to avoid overcrowding.
- Golden Perfection: Cook until golden brown and gloriously crispy, about 2-4 minutes, turning once if needed for even color.
- Drain and Serve: Remove with a slotted spoon and place on a wire rack set over paper towels to drain excess oil. Serve immediately.
Notes
For gluten-free options, use certified gluten-free flour blend (such as Bob’s Red Mill 1-to-1 Baking Flour) and cornstarch. Avoid overmixing the batter; a few lumps are desirable for crispiness. Fry in small batches to maintain oil temperature and ensure crispy results. Serve immediately.
- Prep Time: 15 minutes
- Cook Time: 20 minutes
- Category: Main Course
- Method: Frying
- Cuisine: Japanese
Nutrition
- Serving Size: approx. 4-5 pieces tempura (shrimp and vegetables)
- Calories: 350 calories
- Sugar: 1 g
- Sodium: 250 mg
- Fat: 25 g
- Saturated Fat: 5 g
- Unsaturated Fat: 18 g
- Trans Fat: 0 g
- Carbohydrates: 30 g
- Fiber: 3 g
- Protein: 18 g
- Cholesterol: 170 mg
FREE PRINTABLE RECIPE
Get the Printable Recipe PDF (Free)
Enter your email and we’ll send you the ingredients + step-by-step instructions as a clean PDF you can save to your phone.
- ✅ Printable PDF (ingredients + steps)
- ✅ Save it to your phone (no long scrolling)
- ✅ Includes cook time + servings
- ✅ Easy to follow
FAQ
Where’s the full recipe?
It’s delivered as a printable PDF so you can save it and cook without scrolling.
I didn’t get the email.
Check Spam/Promotions and search your inbox for your site name. Then click Confirm to receive the PDF.